 by
by The first step in making DIY Fabric coasters is to wash them. This will help prevent deformation. Iron your fabrics well before you start sewing them to prevent them from wrinkling. Next, place the main fabric, right side facing up, on top of the batting piece. Pin the three layers together. You can use binding clips to secure the three layers, and you can also sew an X mark on the batting to keep it in place.
Easy to make
Make fabric coasters to match your decor with ease. Simply use batting or two layers of fabric. You can use the same fabric or choose one with coordinating colors. You’ll layer each fabric piece onto the other, and then clip the edges together. Then turn the opening to the back and stitch around the edge. The finished coaster is ready to display. Make several coasters for your home and gift them to friends and family.
You’ll need two pieces of fabric for each coaster. The two largest should be the same size. Cut a square approximately 3 inches by 4 inches. Pin the squares together with the right sides facing outward. Repeat with the other fabric square. Cut a square from the second fabric square. Fold the bottom square in half. Pin the corners together. Sew around the entire coaster, making sure to overlap the binding.
Reversible
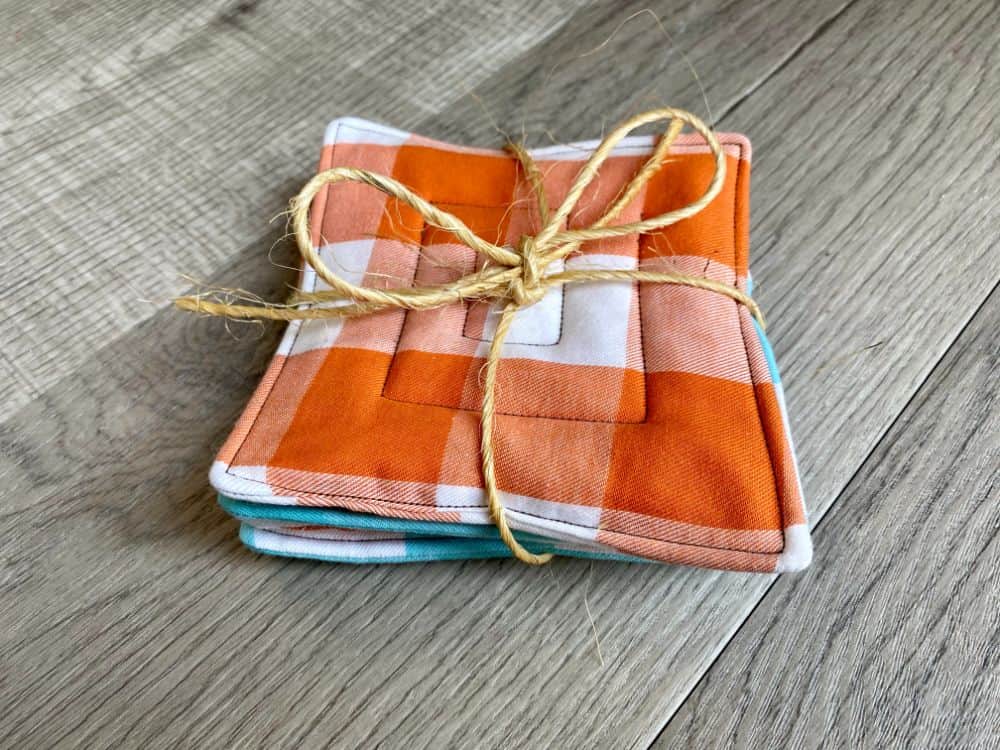
Reversible DIY fabric coasters are a great gift idea! These coasters change looks with a simple sew. They are also easy to reversible, so you can use both sides for different occasions. Then, just tie a ribbon around them to make a great gift! There are many benefits of making reversible fabric coasters! Read on to learn how to make them! We’ve got lots of ideas for you to get started!
First, prepare two squares of fabric with the same print. Make sure the right side of the fabric is facing out. Trace the circle template onto fabric piece B. Repeat step 2 with the second fabric piece. Once you’ve finished sewing the first coaster, you’ll need to sew the second one. Make sure the batting is the right thickness. After you have completed the second one, you can sew the third one onto the top fabric piece.
Washable
If you want to make your own washable DIY fabric coasters, you’re in luck! It’s surprisingly easy to create these stylish and functional home décor pieces! You can even use old tree limbs for coasters if you’ve got some leftover scrap fabric. Just make sure to use natural wood stain to avoid damage. You can even create unique designs with marble contact paper! The possibilities are endless! And the best part is that they can be used for several different purposes.
Firstly, make a sandwich of your chosen fabric and batting. Make sure that right sides are together. Now, sew three-plus-half sides of the fabric, leaving a small opening. Trim the excess fabric outside of the sewn line so the coaster won’t be bulky when turned right-side-out. Once you’re finished, turn the fabric inside out through the unsewn opening. You can now stitch the coaster using a decorative stitch if desired.
Easy to give as a gift
Making DIY fabric coasters is a great project for any home. You can make coasters with any fabric you like! Using the basic fabric sandwich technique, you will need four pieces of equal size. Fold one of the pieces so the right sides are touching, then fold the other piece under the first one. Sew around the edges of the fabric sandwich with a 1/4″ seam allowance. Trim excess fabric around the seam. You can also add fusible interfacing to the 5″ piece to make it stiffer.
If you’re looking for a unique gift idea for a special someone, DIY fabric coasters are a great choice. These coasters are easy to make a great gift idea. You can also use them to decorate your home for the holidays. These can also be used as a hostess or teacher gift. You can find patterns on various websites and blogs for easy DIY fabric coasters.